

Hello all! I hope you had a wonderful holiday and ate a lot
of turkey and pie! I know I did! I even
made sure to wear a flowy dress so that when my belly expanded it could do so
with ease. I am so happy that it is finally the holiday season because its always
such a happy time. I love being able to
spend time with family and friends. For
thanksgiving I was able to go to Michigan, with my boyfriend, to visit my
family and it was so nice to chat and catch up with everyone I haven’t seen in
so long.
So this crochet pattern really has nothing to do with
Thanksgiving other than the warm fuzzy feeling that it gives me. I actually created this bunny crochet pattern
for a friend of mine who is about to have a baby girl! Her baby shower is
coming up very soon and I thought this would be the perfect gift for her and her
new bundle of joy! My friend is also a dancer in the company that I dance for.
She is a beautiful dancer and that gave me the idea to make the ballerina! I also
chose the classic little girl color of pink, with a cute little white ruffle! I
hope she enjoys it!
This pattern was really fun for me to make and ended up
being much cuter than I anticipated! Not that I was aiming for an ugly pattern,
but this just came together quickly and without much trial and error. Being a ballet dancer this crochet pattern
was very special to me. I have been
meaning to make a ballet inspired animal for awhile and I am glad I finally got
the opportunity to! I have a feeling that this is a pattern that is going to be
one that I will be bringing back quite often. The little ballet slippers make it so cute
and I especially love the ruffles of the tutu!
This pattern measures to be about 5 inches tall and 3 inches wide when it is
finished.
I chose to go with a white base for the bunny and pink for
the tutu and ballerina slippers, but you can use whatever colors that you want!
I also think that a little brown bunny with a yellow tutu and slippers would be
super cute or a grey bunny with a blue tutu and slipper combination!
I also have created a baby blanket that will pair perfectly
wit this little bunny and that pattern is soon to come!
If you would lie a PDF version of the pattern you can purchase
it at my etsy store!
Etsy heycrochailey- cute ballerina bunny crochet pattern
Etsy heycrochailey- cute ballerina bunny crochet pattern
Happy Crocheting!!

- 3.5mm (E/4) crochet hook
- White yarn for the main part of bunny (I used Red Heart Yarn, White
)
- Pink yarn for the tutu and slippers of giraffe (I used Red Heart Yarn, Petal Pink
)
- Polyester toy stuffing (I used Fairfield Poly-Fil Premium Polyester Fiber
)
- Blunt end needle
- Scissors
- Straight pins (to help with assembly)
This bunny ended up being pretty tiny, which was perfect for the blanket size that I was going for, but might be kind of small for just a free standing toy. If toy would like to make this crochet bunny a bit larger I would recommend increasing your hook size. I would only increase it slightly, going to a 3.75mm or 4.00mm hook.

- st = stitch
- sc = single crochet (UK double crochet)
- dc = double crochet (UK triple crochet)
- sl/st = slip stitch (UK single crochet)
- ch = chain
- inc = two sc in one stitch
- 2tog = two stitches together (decrease)
- f/o = finish off
Body:
The body will only use the pink yarn. There will be a sizable hole that is at the top when you are done with the body, but don't worry this is suppose to happen. The open space at the top allows for it to be attached to the head easier.

Using the pink yarn ch 3 Round 1: 6 sc into your first st of ch 3 (6)

Using the white yarn ch 3
-----Stuff the head----
Round 10: [2tog] 4 times (4)
F/o

Using white yarn ch 3
Round 1: 4 sc into your first st of your ch 3 (4)
Round 2: [inc in next sc, sc] 2 times (6)
Round 3-8: 6 sc (6)
F/o
Legs:
Make two and leave a long tail for attachment. Only put stuffing in the foot. Note: There is a yarn transition from pink two white

Using the pink yarn ch 3
Round 1: 4 sc into your first st of your ch 3 (4)
Round 2: [inc in next sc] 4 times (8)
Round 3: [inc in next sc, 3 sc] twice (10)
Round 4: 10 sc (10)
Round 5: [2tog, 3 sc] twice (8)
----Stuff foot---
Change to white yarn
Round 6-11: 8 sc (8)
F/o
Ears:
Make two and leave long tail for attachment.
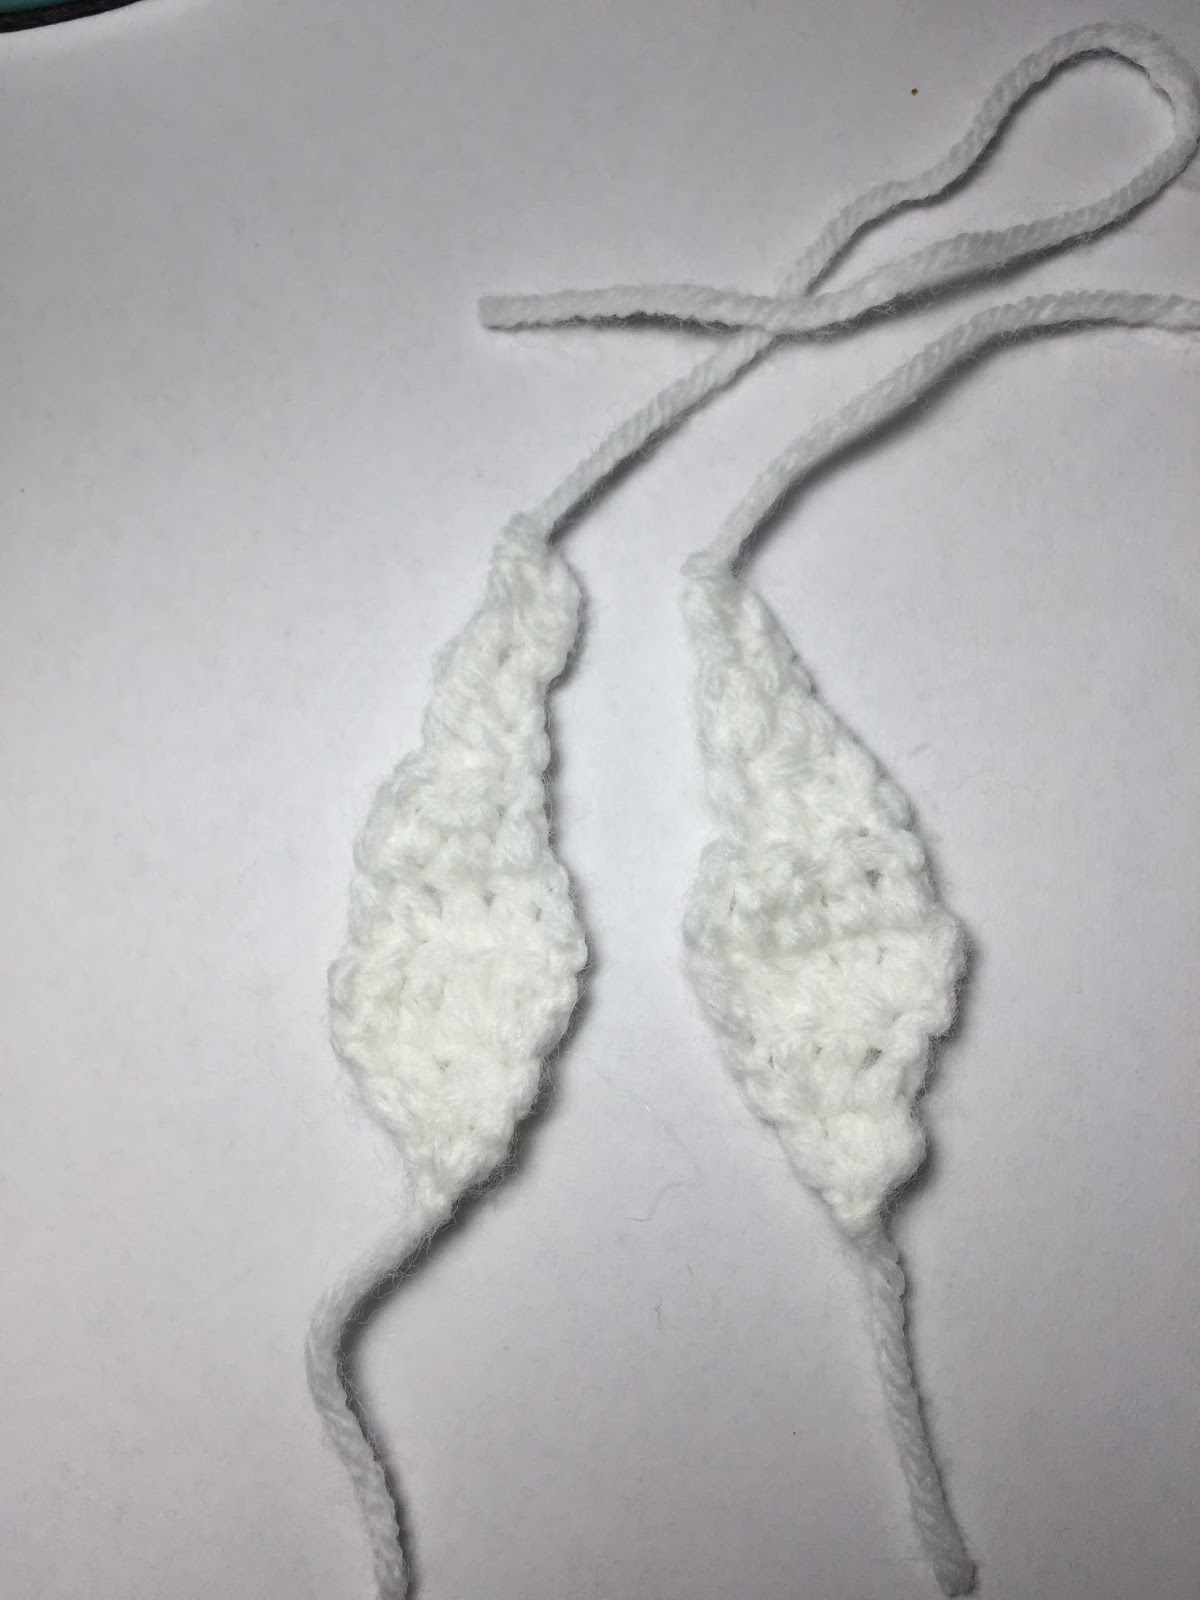
Using white yarn ch 2
Round 1: 2 dc in the 1st st of your ch 2, turn
Round 2: 2 dc in first st, 1 dc in next st, ch 2, turn
Round 3: 2 dc in first st, [dc in next st] twice, ch 2, turn
Round 4: 2tog, [dc in next st] twice, ch 2, turn
Round 5: 2tog, dc in next st, ch 2, turn
Round 6: 1 dc, ch 2, turn
Round 7: 1 dc
F/o

Using your needle, you will sew together all the parts. Use straight pins to hold together the different parts as you go.
- Sew the body to the head. I placed the head right on top of the hole that was left on the body and sewed all around to close up the hole and attach the head.
- Sew on the ears to the crown of the head. Use your pins to position the ears and double check that they are even.
- Sew on arms. I placed the arms right where the head and the body meet. Once again use your pins to hold the arms in place and make use they are even.
- Sew on legs. Place the legs right next to each other at the base of the body and use your straight pins to make sure they are even.
- Sew on the tutu portion.
- For the tutu you will will need to find one row of crochets and follow this all the way around. I picked the fifth row of crochets up from the bottom and marked it all the way around with straight pins.
- Now take your hook and pink yarn and attach the yarn to the body of the bunny.
- Ch 7 and sl/st into the next st. Repeat this all the way around until you meet up with where you started. F/o.

After you have fully assembled your bunny you will have to tuck in your extra stings. I usually just stuff them into the animal with the needle or the back of the crochet hook.
After the assembly you can give your bunny a face. For the eyes I just used black yarn and stitched them right onto the face. You can also use plastic stuffed animal safety eyes. You would just have to make sure to add the safety eyes to the head as you were crocheting. I also crocheted a nose onto my bunny. I sewed it on with my needle right in the front of the snout. I started out with a horizontal line right at the top of the snout and then two stitched that come down from the edges of the horizontal line to form a V. I then filled this area in and made a small vertical stitch going straight down from the point of the nose to the end of the snout to create the effect of a little mouth.
Don't miss my next pattern!
Please Note: This pattern in the property of heycrochailey. You may not sell or redistribute this pattern in any way.
However you may: Post up to two pictures on your blog or website with a link back to this post.
You may also: Sell your own handmade items form this pattern as long as there is a clearly listed link back to this post in your description.
You may also: Sell your own handmade items form this pattern as long as there is a clearly listed link back to this post in your description.
No comments:
Post a Comment